A Practical Guide to Oakville Seller Marketing Strategy
A Practical Guide to Oakville Seller Marketing Strategy
Selling a home requires more than listing it online and hoping the right buyer appears. A practical, step-by-step marketing strategy helps you position the property, attract qualified interest, and move confidently from first impression to firm offer. This guide lays out durable frameworks and checklists you can adapt to your timeline, budget, and comfort level—specifically organized for sellers planning a campaign in Oakville.
Set the foundation
Before you design ads or schedule showings, define the core elements of your sale. Getting these basics right reduces friction later and keeps your marketing aligned.
- Objectives: Clarify what matters most (sale price, speed, certainty, or flexible closing). Rank them so tradeoffs are easier to manage.
- Constraints: Note timing windows (work relocation, school-year changes), budget for prep, and any access limitations (tenants, renovations).
- Decision roles: Identify who must approve pricing, offers, and concessions. Decide how you will resolve differing opinions.
- Documentation: Assemble permits, surveys, warranties, utility costs, and recent upgrades. Organized records build buyer confidence.
Identify buyer profiles and value messages
Strong marketing speaks to real buyer needs. Outline likely profiles and the messages each cares about. Keep claims factual and verifiable.
- Move-up families: Emphasize layout flow, bedroom count, storage, and functional outdoor space.
- First-time buyers: Highlight maintenance history, utility efficiency, and predictable ownership costs.
- Downsizers: Focus on single-level living areas, manageable yards, and convenience features.
- Investors: Provide rental potential context such as flexible spaces and low-upkeep finishes. Avoid projections you cannot substantiate.
Translate features into benefits without exaggeration. For example, “new roof (2023) with transferable warranty” is stronger than “turnkey.”
Pricing frameworks you can defend
Marketing works best when it’s backed by a price you can explain. Choose a framework and document your reasoning so you can communicate it consistently to buyers and their representatives.
- Comparable-based: Anchor your list price to recent, similar nearby sales adjusted for size, condition, and lot. Keep a simple adjustment table.
- Range strategy: Publish a clear list price and predefine your acceptable range for negotiations, including thresholds for credits versus price changes.
- Milestone review: Schedule formal price reviews after predefined milestones (e.g., 10 qualified showings or 21 days on market without strong offers).
Whichever method you select, write a brief pricing memo. This becomes your script for inquiries and helps ensure consistent answers from everyone involved in the sale.
Pre-listing prep checklist
Preparation magnifies every marketing dollar. Use this sequence to avoid rework:
- Safety and function first: Fix leaks, electrical issues, stuck windows, and loose railings. Safety concerns deter buyers and appraisers.
- Declutter and depersonalize: Remove excess items and personal photos. Clear surfaces and closets to convey space.
- High-ROI refresh: Paint scuffed walls in neutral tones, update worn hardware, replace failing bulbs with consistent color temperature, and deep clean.
- Curb approach: Tidy landscaping, power-wash walkways, clean gutters, and refresh the front door hardware where needed.
- Documentation binder: Include upgrade receipts, maintenance logs, utility summaries, and appliance manuals for easy buyer review.
Staging and visual assets
Buyers shortlist homes online. Your visuals need to earn an in-person visit and then reinforce value during showings.
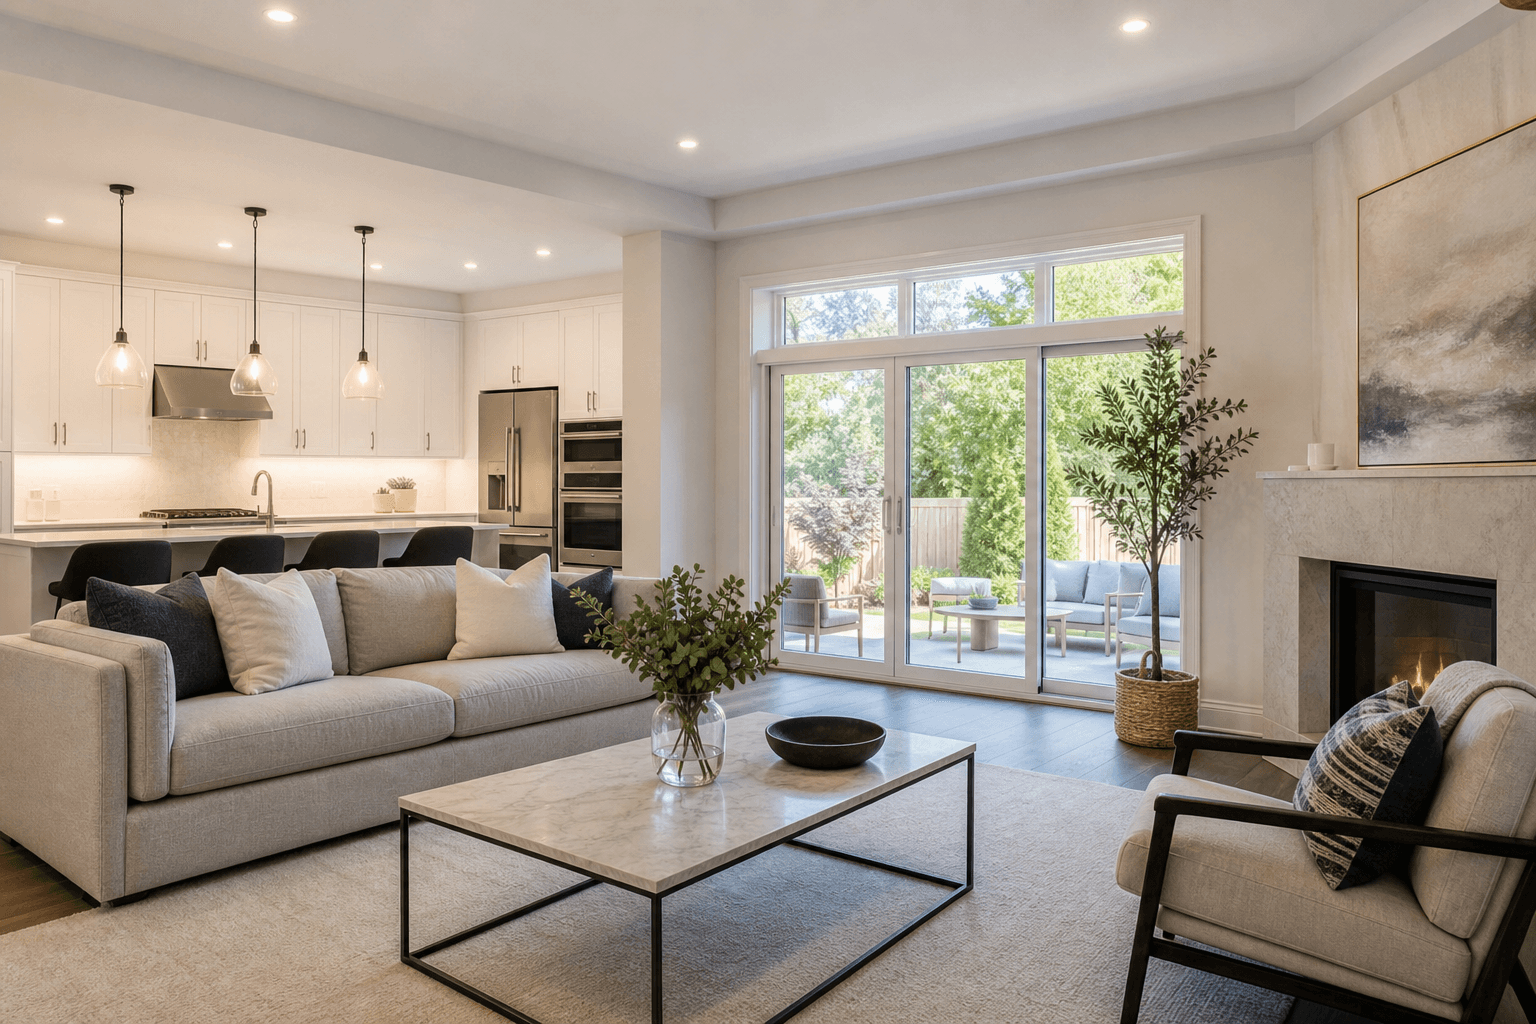
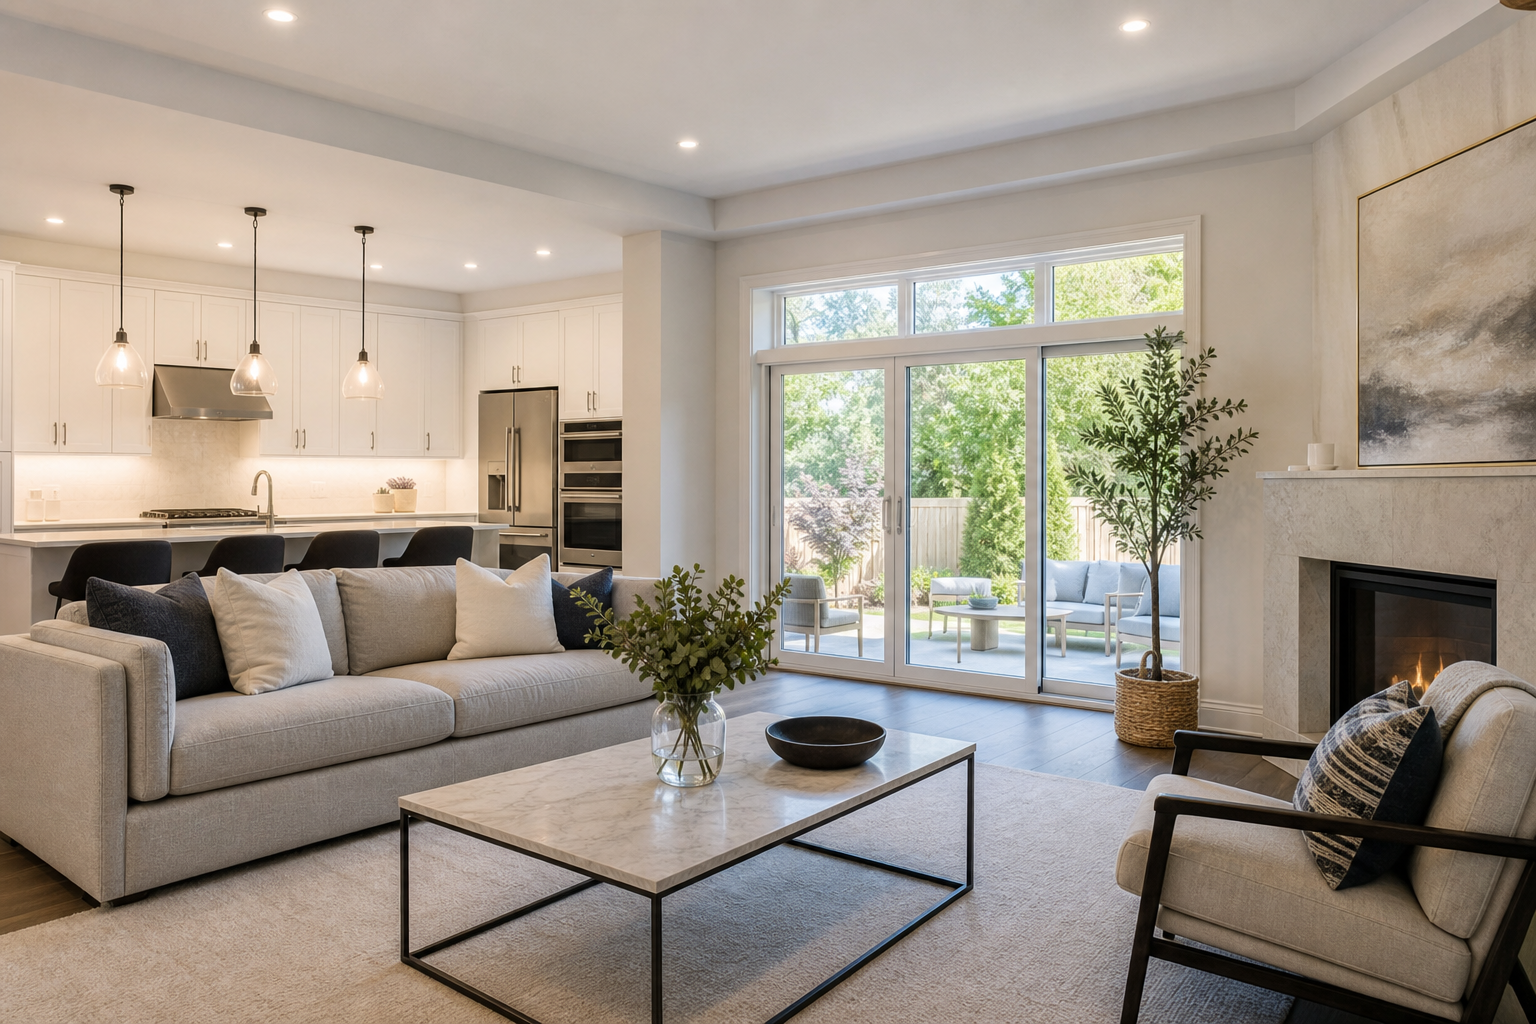
- Room purpose: Stage each room to show one clear use. Ambiguity lowers perceived utility.
- Scale and flow: Use furniture that fits the room; leave walkways at least two to three feet wide.
- Lighting plan: Layer ambient, task, and accent lighting. Open blinds, use uniform bulb temperatures, and time photos for balanced daylight.
- Photo shot list: Exterior fronts/backs, entry, living, dining, kitchen (wide and detail), primary suite, secondary beds, baths, office/flex, laundry, storage, mechanical, and yard.
- Floor plan: Provide a measured floor plan to reduce uncertainty about fit and furniture placement.
Optimize the listing
Your listing is a product page. Make it skimmable and evidence-based.
- Headline: Lead with the strongest differentiator you can substantiate (e.g., “Four-bedroom layout with main-floor office and finished lower level”).
- Bulleted highlights: Summarize upgrades with dates when available (roof, windows, HVAC, major appliances).
- Feature-to-benefit mapping: For each major feature, include the buyer benefit (e.g., “South-facing windows for consistent natural light”).
- Clarity on inclusions: List what stays and what does not to avoid offer-stage confusion.
- Professional proofreading: Eliminate contradictions across the listing, brochure, and disclosures.
Launch and promotion plan
Plan your first 14 days—many serious buyers monitor new listings closely. A clear calendar keeps momentum high.
- Internal readiness: Confirm photography, floor plan, measurements, and listing copy are final. Cross-check disclosures.
- Syndication: Ensure your listing feeds to major portals and that images display properly on mobile.
- Buyer alerts: Coordinate the release timing so serious buyers see the home at the same time. Consistency reduces perceived information gaps.
- Open-house cadence: If using open houses, schedule and publish times early, and align with showing windows.
- Neighbor notification: Consider a simple, factual heads-up flyer. Neighbors often know people who want into the area.
Showing readiness
Every showing is a live product demo. Prepare a predictable routine that anyone in the household can follow.
- Five-minute touch-up: Lights on, blinds open, counters cleared, waste bins empty, and pet plan executed.
- Information station: Place a binder or brochure with the floor plan, upgrade summary, and utility overview on the kitchen island.
- Access protocol: Provide clear instructions for lockbox or agent accompaniment. Confirm alarm handling.
- Scent and sound: Keep scents neutral and background noise minimal; avoid strong air fresheners.
Offer and negotiation prep
Define your decision rules before offers arrive so you can respond consistently and without delay.
- Offer components checklist: Price, deposit, conditions/contingencies, inclusions/exclusions, closing date, and timelines.
- Prioritized tradeoffs: Decide in advance which terms you value more than headline price (for example, fewer conditions or a preferred closing date). Document examples.
- Response playbook: Draft templates for counteroffers and questions about unclear clauses. Keep tone factual and respectful.
- Inspection and appraisal readiness: Keep your records accessible in case buyers request clarifications.
Measure what matters
Track simple, leading indicators and agree on thresholds for action. Reviewing data on a schedule keeps your strategy grounded.
- Online engagement: Listing views, saves, and click-through to full photo sets over the first two weeks.
- Inquiry-to-showing rate: If many inquiries do not convert to showings, revisit photos, floor plan clarity, or headline accuracy.
- Showing feedback: Log comments about price, condition, layout, and light. Look for repeated themes.
- Showings to offers: If showings are healthy but offers are light, examine pricing or consider addressing common objections.
- Milestone reviews: At your pre-set milestones (e.g., showings count or days active), enact your predetermined adjustments.
Risk management and ethics
Transparent, accurate marketing protects your sale and reputation. Avoid promises you cannot verify, keep records of communications, and ensure consistency across every channel. If you encounter questions about contracts or other regulated topics, consult qualified professionals; marketing materials should not substitute for legal or financial advice.
Simple templates and checklists
Use these quick-start outlines to speed your planning:
One-page property brief
- Address and property type
- Top five features (with dates/brands where applicable)
- Floor plan link or print
- Recent upgrades and maintenance (with receipts)
- Inclusions and exclusions
Launch week calendar
- Day 1: Listing goes live, internal QA check on all portals
- Day 2: Neighbor notification and brochure drop
- Day 3–4: First showing windows
- Day 5: Review early engagement metrics and feedback
- Day 6–7: Open house (if applicable) and follow-up calls
Showing kit
- Property brief and measured floor plan
- Upgrade and maintenance timeline
- Utility and property tax summaries
- FAQs sheet addressing common buyer questions
Frequently asked questions
How far in advance should I start preparing my Oakville listing?
Aim to begin two to four weeks before your planned launch. That window typically allows for minor repairs, decluttering, cleaning, staging, and scheduling professional photography without rushing. If you anticipate larger updates, add extra lead time.
What if I receive early feedback that conflicts with my pricing plan?
Rely on your predefined milestones. If feedback consistently questions value and your showings-to-offers ratio stays low, activate your planned adjustment at the agreed checkpoint. Document the change and the reasoning so your decision remains transparent and consistent.
Do I need a floor plan if I already have great photos?
Yes—photos show finishes and light, but floor plans communicate flow and scale, helping buyers understand furniture placement and multiuse options. Including one can reduce uncertainty and improve the quality of buyer inquiries.
How do I handle conflicting buyer feedback about staging?
Prioritize clarity over personal style. If feedback conflicts, default to layouts that clearly show room purpose and leave adequate walkways. Keep colors neutral and remove overly distinctive decor that might distract from the home’s features.
What should be in a basic disclosure and documentation packet?
Include known material facts, permits (where available), upgrade and maintenance receipts, utility summaries, manuals for included appliances, and a clear list of inclusions and exclusions. For legal or contract questions, consult a qualified professional.
Next steps
Tags
Have questions about Ontario real estate?
Book an appointment with Malika Mehrotra to discuss your buying or selling goals.
Book Appointment